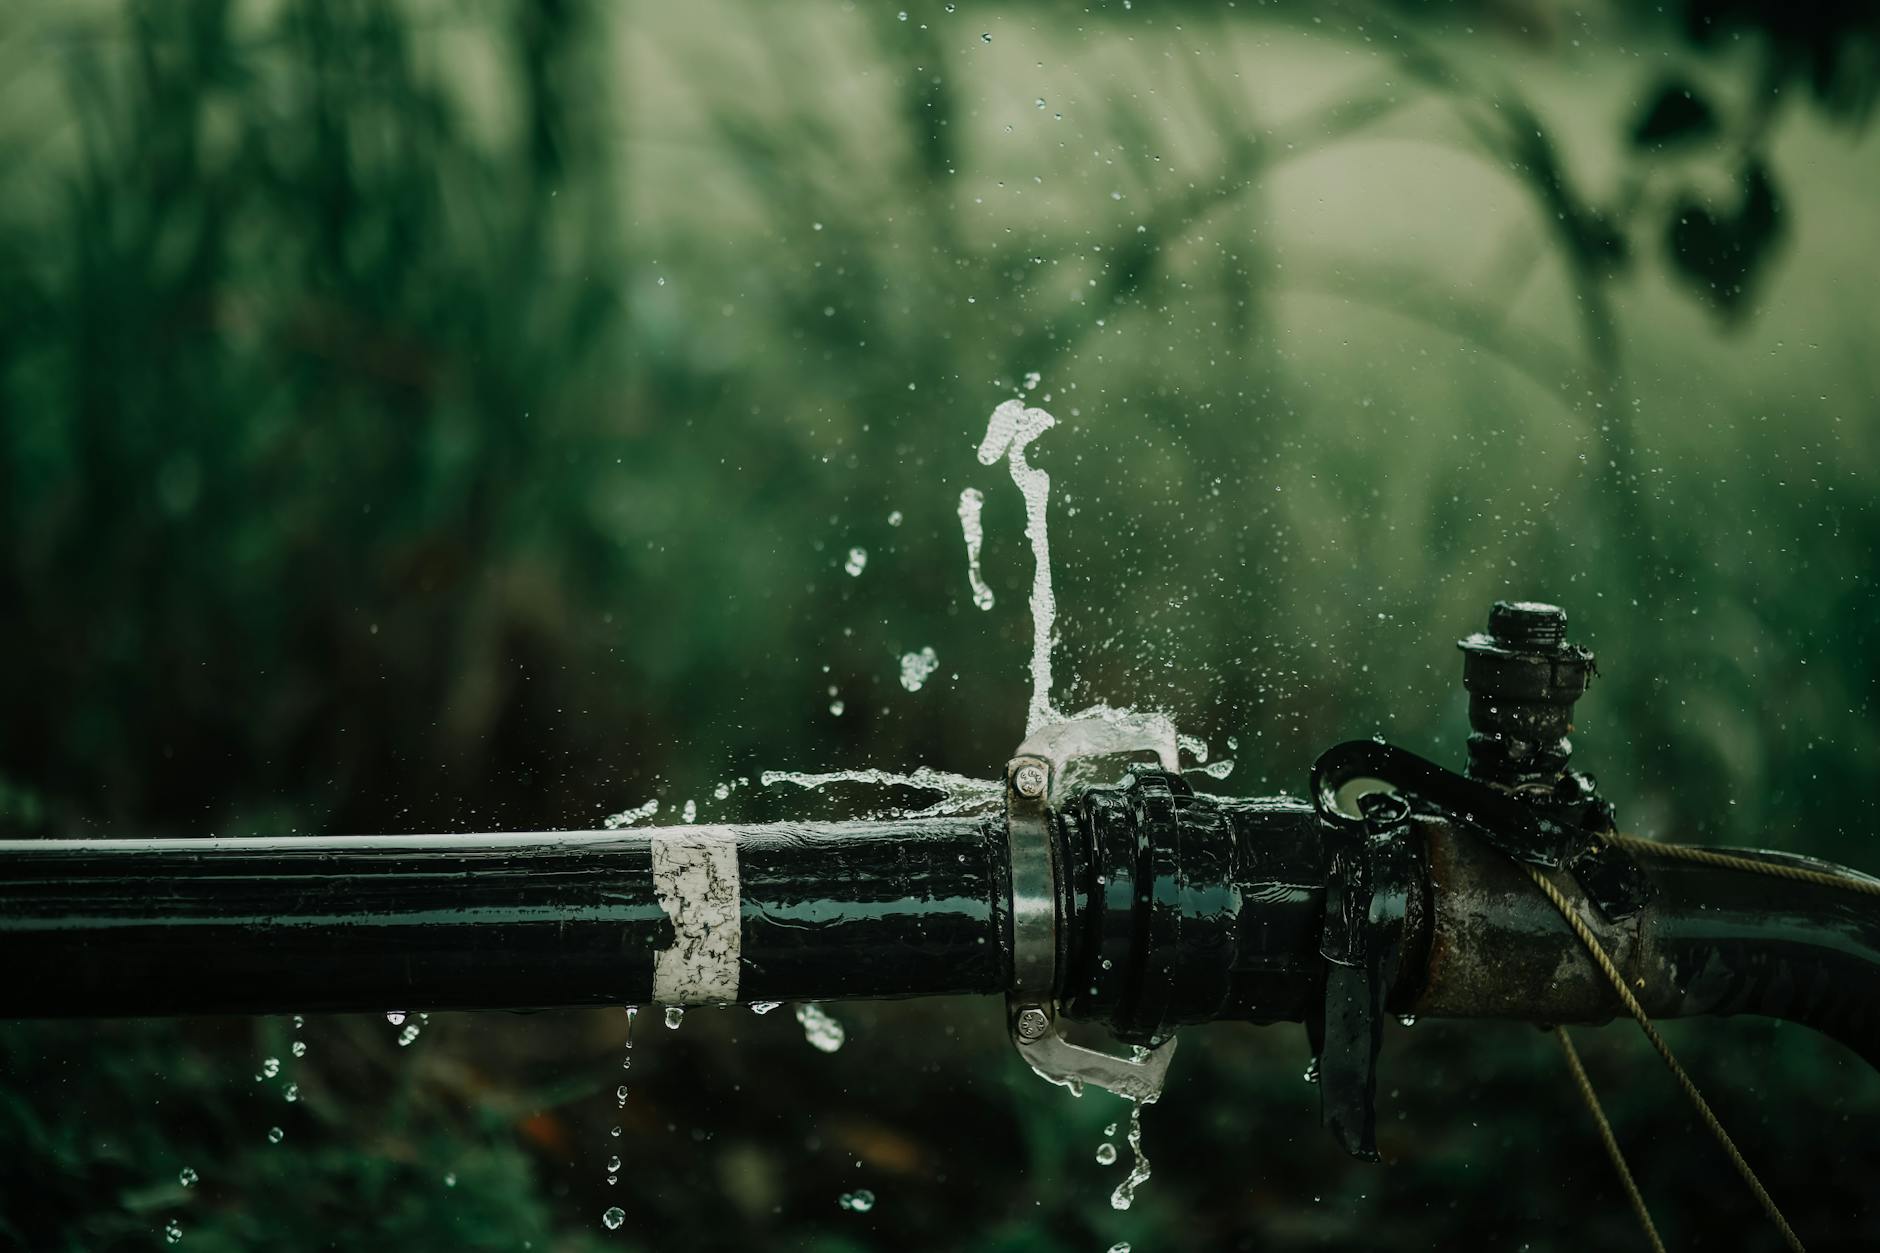
When you find a water leak, shut off the water to the leaking fixture or to the whole house, keep clear of anything electrical that the water has reached, and then start containing the spill. Diagnosis and repair come after the water has stopped moving. The first 10 to 15 minutes often decide whether you face a single repair or a repair plus a drying and rebuilding job.
Speed matters because wet materials stay wet. The EPA’s mold guidance says to dry water-damaged areas and items within 24 to 48 hours to prevent mold growth, so the steps below are ordered to stop the water first and start the drying clock early.
Step 1: Stop the water at the nearest shutoff
Most fixtures have their own shutoff valve. Using it is faster and less disruptive than closing the whole house supply.
- Toilets: a small oval-handled valve on the wall or floor behind the bowl. Turn it clockwise until it stops.
- Sinks: two valves under the sink, one hot and one cold. Close both.
- Washing machines: hot and cold valves on the wall behind the machine.
- Water heaters: a cold-water inlet valve on the pipe feeding the tank.
- Dishwashers and ice makers: usually a small valve under the sink or behind the unit.
If the source is not obvious, or the water is coming through a wall, ceiling or floor, go straight to the main shutoff. It is typically where the water line enters the house: near the water heater, in a basement or crawl space, in a utility closet or in a garage. A round wheel handle closes clockwise. A lever handle closes with a quarter turn, so it ends up crossways to the pipe. If a valve near the street is the only way to stop the flow, it may belong to the water utility, so call them.
Find your main shutoff before you ever need it, and operate it gently once in a while so it does not seize. A valve that has never moved can fail to close or leak at the stem, which is a plumber’s job to replace.
Step 2: Make the area safe
Water and electricity are a dangerous mix, and water travels farther than you expect, into outlets, light fixtures and appliances.
- If water is near outlets, power strips, appliances or a dripping ceiling light, do not touch them, and never touch them with wet hands or while standing in water.
- If you can reach the electrical panel on dry floor, turn off the breaker for the wet area. If the panel is wet, or you would have to wade through water to get to it, stay away and call your electric utility or a licensed electrician. See which electrical problems are not safe to DIY.
- A ceiling that is sagging, bulging or holding water can collapse. Keep people out from under it and do not poke or cut it open yourself. Call a plumber or, if it looks about to fall, your local emergency number.
- Basement water that reaches outlets, the furnace or the panel is a serious hazard. Do not enter standing water if anything in it may be energized.
If you smell gas, hear hissing from a gas line, or see signs of a sewage backup, leave the area. Gas is an emergency for the utility and the fire department. Sewage-contaminated water needs professional cleanup.
Step 3: Contain and remove standing water
With the supply off, deal with what is already out.
- Put buckets or pans under active drips and soak up small spills with towels.
- Use a wet-dry vacuum for larger amounts. Do not use a standard household vacuum on water.
- Lift rugs and move furniture off wet carpet. Put foil or plastic under furniture feet so wood does not stain.
- Move electronics, valuables and cardboard out of the wet zone. Cardboard soaks up water and feeds mold.
- Open windows if the weather allows and run fans across the wet area.
Step 4: Work out where the water came from
Once the water is off you can look calmly. Water often travels along framing, pipes and wires before it drips, so the wet spot is frequently not the leak. A ceiling stain can sit well away from the source, and with a stain on a lower floor you should check the floor above first.
| What you see | Likely source | Typical next step |
|---|---|---|
| Drip under a sink | Supply line, drain trap, faucet base | Tighten or replace a fitting, or call a plumber |
| Water at the base of a toilet | Supply line, tank bolts, wax ring | Replace the supply line, or call a plumber |
| Puddle by the water heater | Tank, relief valve or fittings | Shut off the supply and call a plumber |
| Wet spot on a ceiling below a bathroom | Tub or shower drain, supply or grout failure | Check above, call a plumber or leak detection service |
| Stain growing on a wall | Pipe inside the wall | Shut off water and call a plumber |
| Wet basement wall after rain | Groundwater or gutter drainage | Check gutters and grading |
To check for a hidden supply-side leak, the EPA’s WaterSense program suggests reading your water meter, using no water for two hours, and reading it again. If the meter changed at all, you probably have a leak. For a suspected toilet leak, the same program says to put a few drops of food coloring in the tank and see whether color reaches the bowl within 10 minutes without flushing.
Step 5: Know what you can fix and what you should not
Some leaks are reasonable DIY work: tightening a loose compression fitting a little, replacing a braided supply line, swapping a worn washer or cartridge in a dripping faucet, or replacing a toilet fill valve. Close the shutoff first and open the faucet to relieve pressure.
Call a plumber for leaks inside walls, ceilings or under a slab, pinhole leaks in copper, corroded or bulging pipes, a leaking water heater tank, anything on the main line, and any job that means cutting or soldering supply pipe. Clamps, epoxy putty and push-fit couplings can slow a leak while you wait for a pro, but they are not a lasting fix for many pipes.
Emergency and after-hours plumbing calls cost more than daytime work, and prices vary by region, so ask for the call-out fee when you phone.
Step 6: Document it and dry it out
Before cleanup, take photos and short video of the source, the wet areas and any damaged belongings. Note when you found the leak and when you shut off the water. What to document before calling a home repair pro lists the details that save the most time, and the same record supports an insurance claim.
Then dry fast.
- Run fans, and a dehumidifier if you have one.
- Remove wet carpet padding, which dries slowly. Carpet may be saved if it is lifted and dried quickly after clean-water exposure.
- Pull baseboards on wet walls so air reaches the wall cavity.
- Drywall and insulation that stay wet beyond 24 to 48 hours often need to be cut out, usually above the visible wet line.
Clean water from a supply line is manageable in small areas. Water from a drain, sewage or outside flooding is contaminated and best left to professionals. The EPA’s mold guidance recommends an N-95 respirator, long gloves and goggles without vent holes when cleaning moldy material. In a home built before 1978, do not sand or break up old paint or flooring without testing for lead and asbestos first.
Step 7: Call the right people
Call a plumber when the source is behind a surface, when you cannot stop the water, or when the repair means cutting into pipe. Contact your insurer promptly if water spread into walls, floors or ceilings, because many policies ask for prompt notice. Sudden and accidental leaks are often covered while slow, long-term seepage is often excluded, so read your policy and ask before you tear anything out.
If the leak had been running for a while, read how to tell if a small leak caused hidden damage. If the first sign was a patch overhead, when a ceiling stain means an active problem explains how to check.
For the first minutes, keep the stop-and-call-now checklist and water meter leak test checklist.
Where this comes from
This guide draws on the EPA’s guidance on mold, moisture and your home (drying within 24 to 48 hours, protective gear) and the EPA WaterSense program’s leak-detection advice (meter check, toilet dye test). The shutoff, electrical-safety and containment steps are standard practice for homeowners. Prices, insurance terms and local rules change and vary by region, so check them with your plumber, insurer and utility.